How to Create Groups for Discussions
How to Create Groups for Discussions
Note: To learn how to edit already-created groups that have users, view this article.
Option 1: Create new groups to associate with new or existing discussions
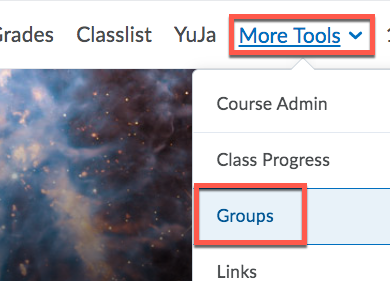
- On the navigation bar at the top of your course, click More Tools > Groups.
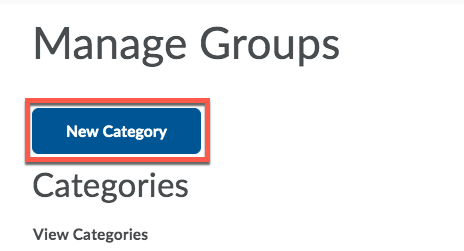
- Click the New Category button.
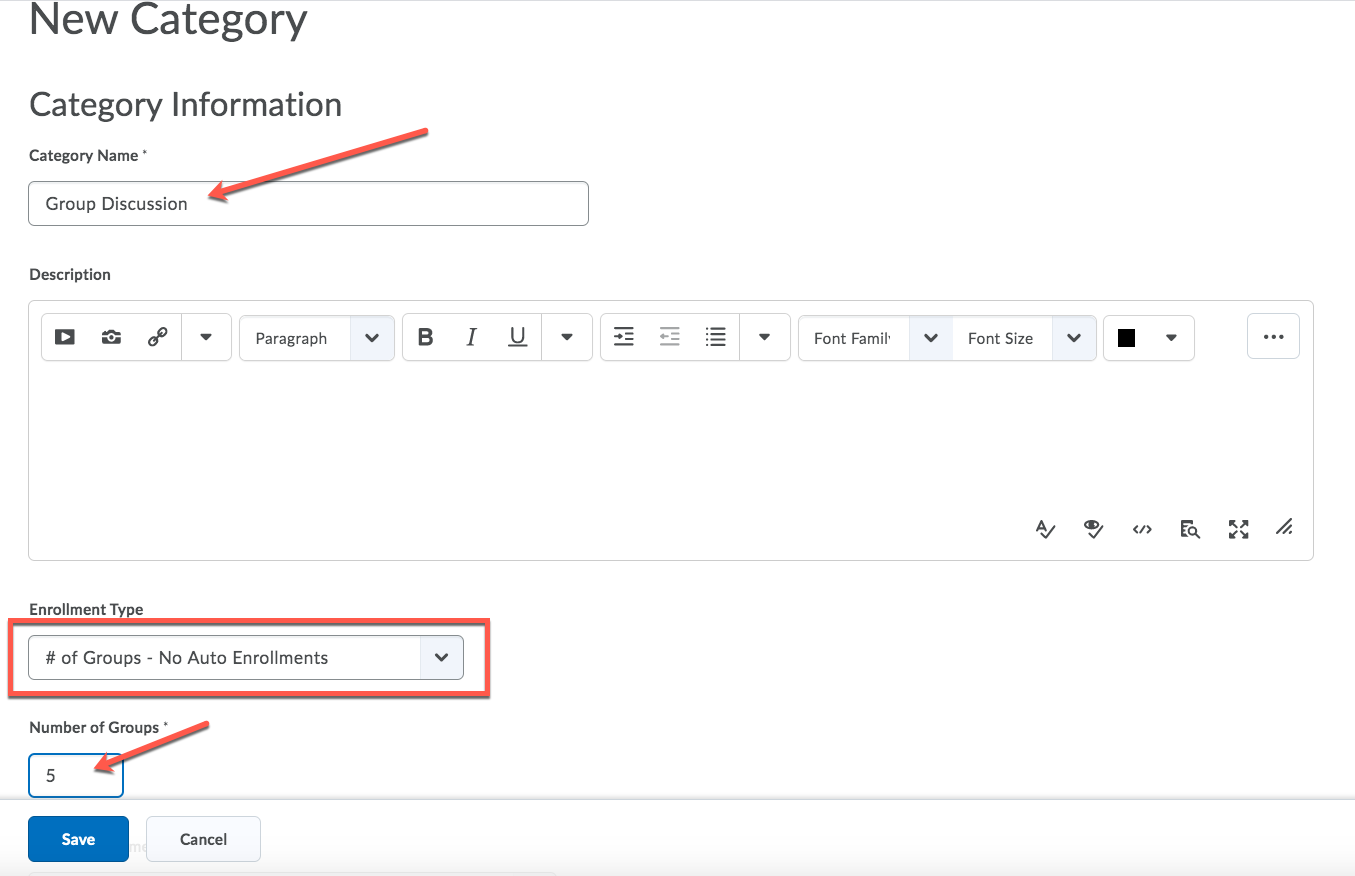
- Type the name of your Category under the field "Category Name."
- In the drop down under "Enrollment Type," select one of the options, for example if you'd like to enroll your own users choose "# of Groups - No Auto Enrollments".
- Type in the number of groups you'd like under the field "Number of Groups".
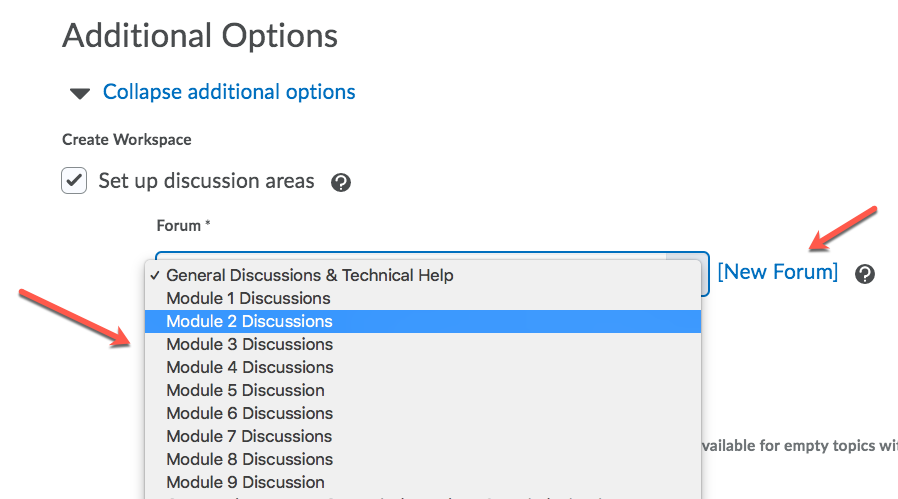
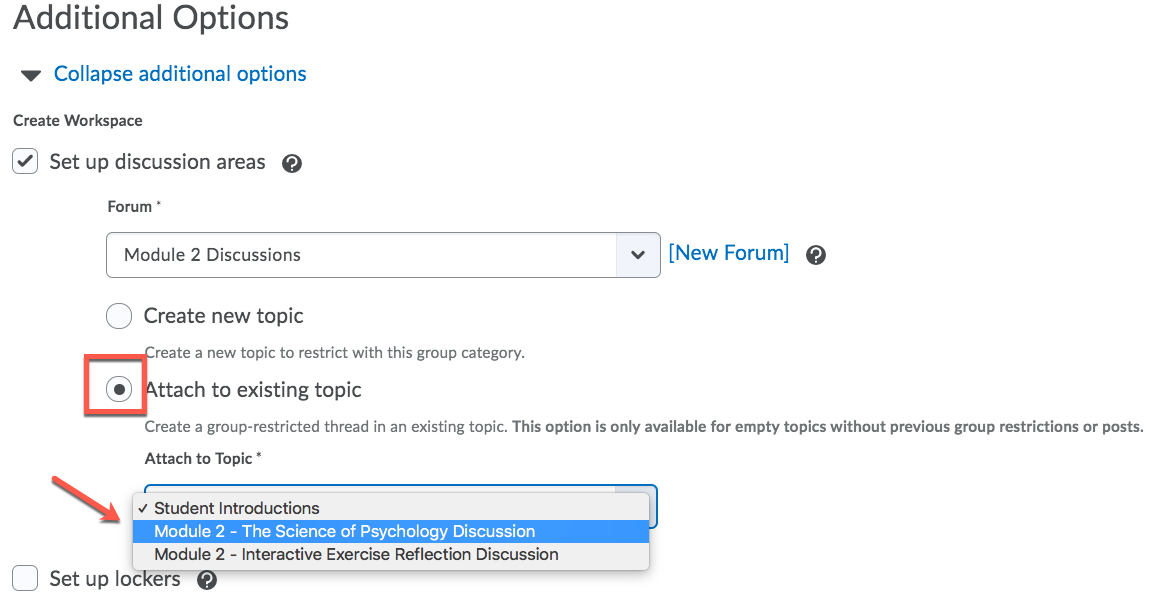
- Under Additional Options, select the checkbox next to "Set up discussion areas".
- In the dropdown under Forum, select the forum you'd like the discussion to fall under (ex: Module 1, Module 2, etc.), or choose to create a New Forum.
- To associate these groups with a specific discussion, select the radio button for either "Create a new topic" or "Attach to an existing topic".
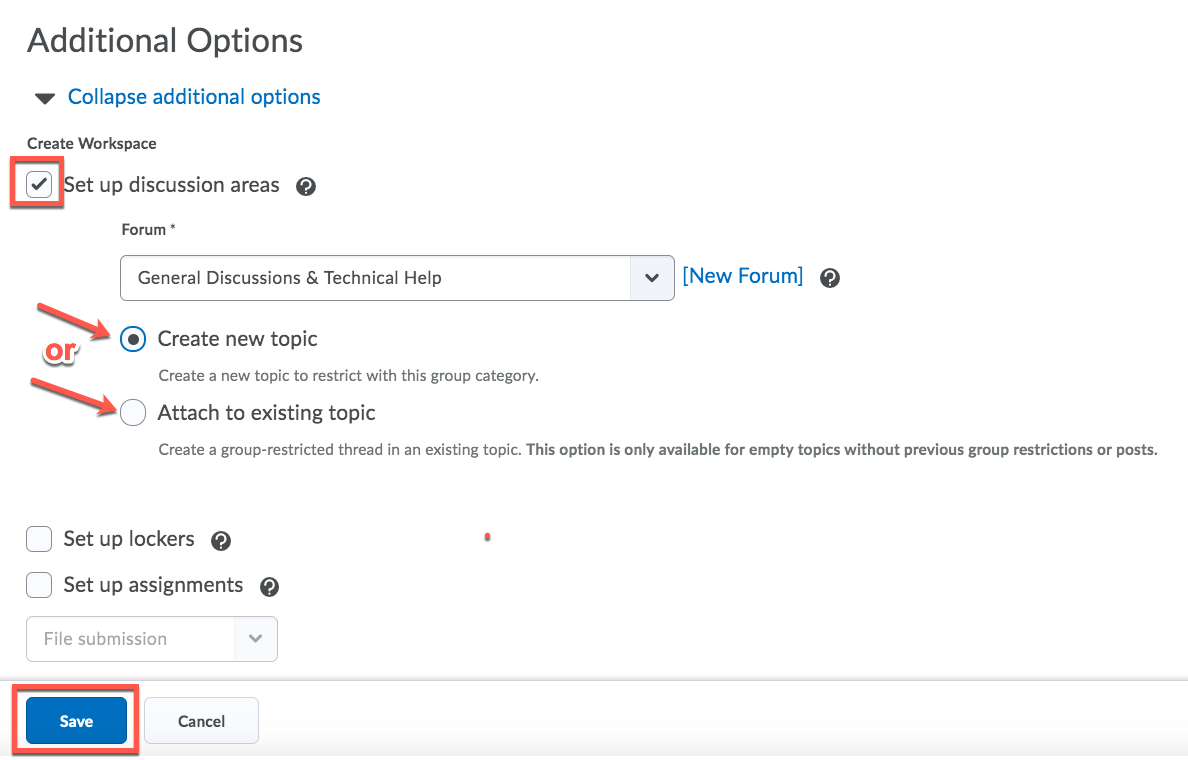
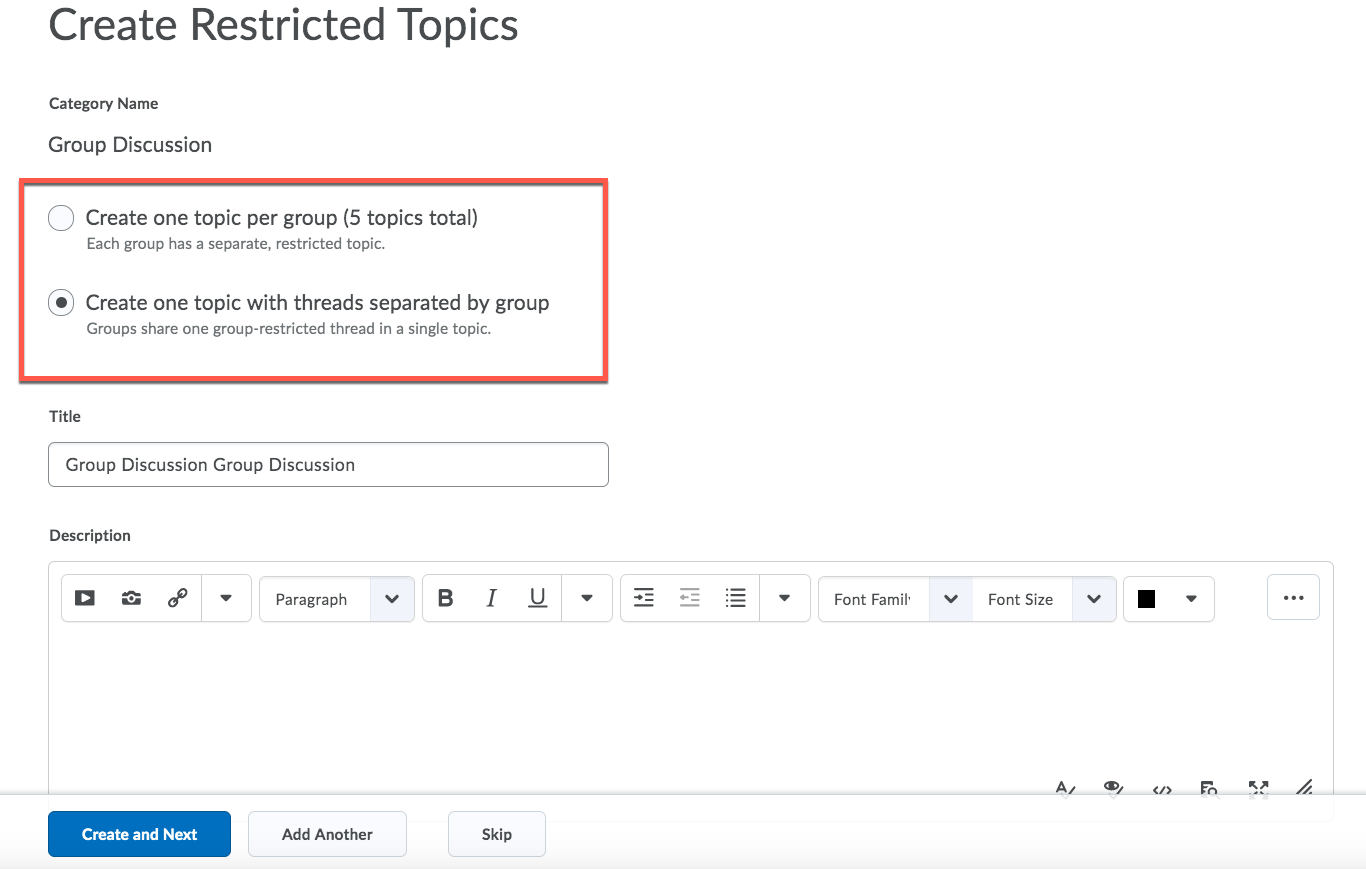
- Create a new topic
-
- On the next page select the radio button for either "Create one topic per group" or "Create one topic with threads separated by group", depending on what you need for the course.
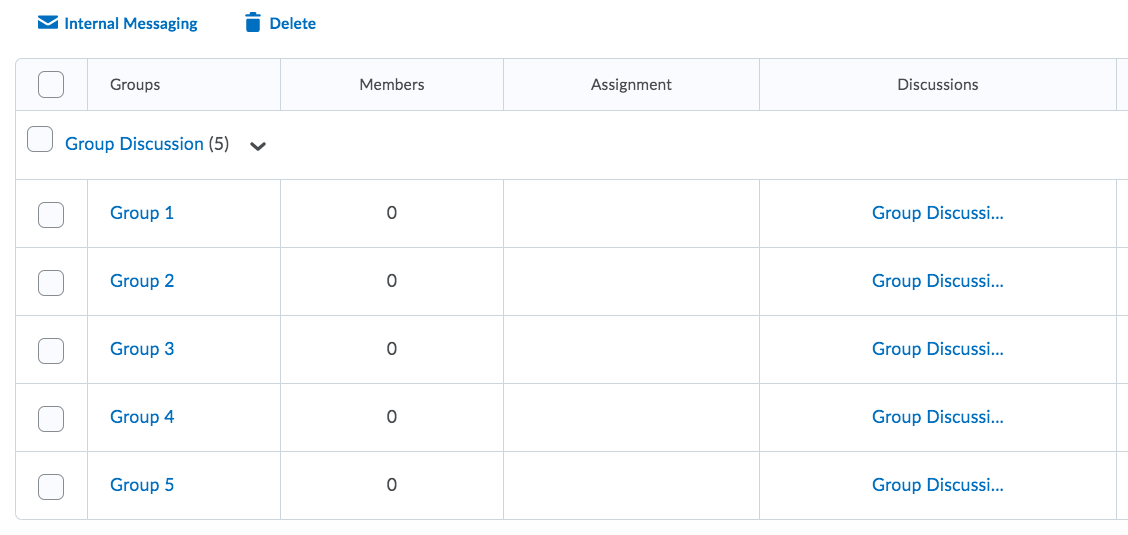
- Go back to your main navigation bar, and choose More Tools > Groups.
- You'll now see the groups you have just created, along with the discussions(s) they are associated with.
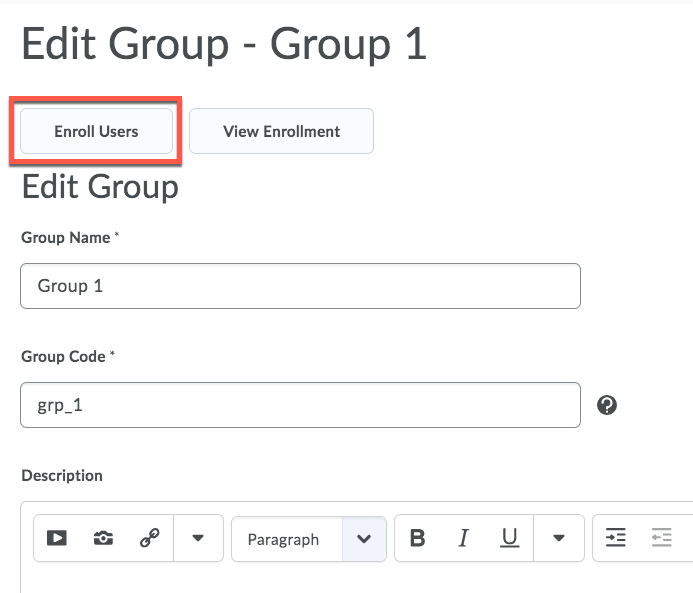
- To enroll users into those groups, click on each group. Then select Enroll Users.
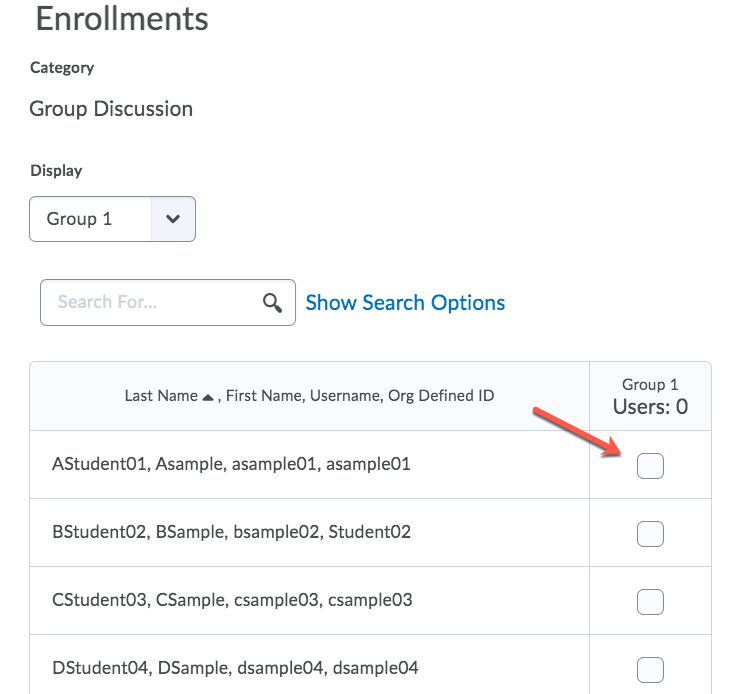
- In the list of students, select the checkbox for each student you'd like to be in this particular group.
- Click Save.
- Attach to an existing topic
- If attaching to an existing topic, on the "Attach to Topic" dropdown, choose your desired Discussion.
- Click Save.
Option 2: Add existing groups to discussions that have already been created
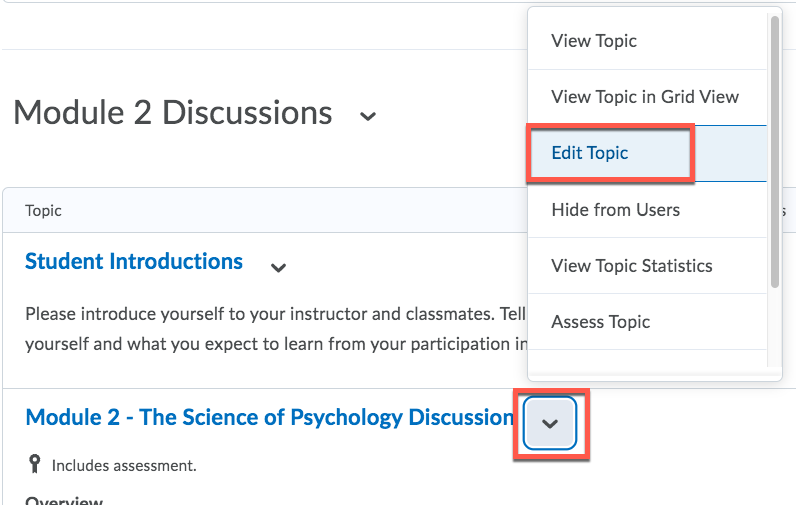
- Go to Discussions on the main navigation bar.
- Next to the Discussion you'd like to add this group restriction to, click the action triangle and choose Edit Topic.
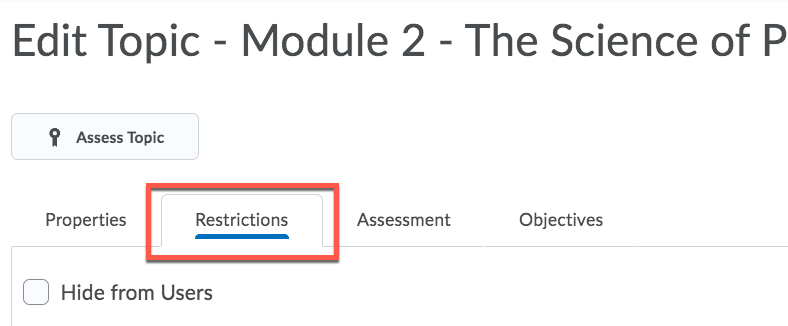
- Click the Restrictions tab.
- Scroll down to Group and Section Restrictions, and select the checkbox next to "Restrict this topic to the following groups and sections".
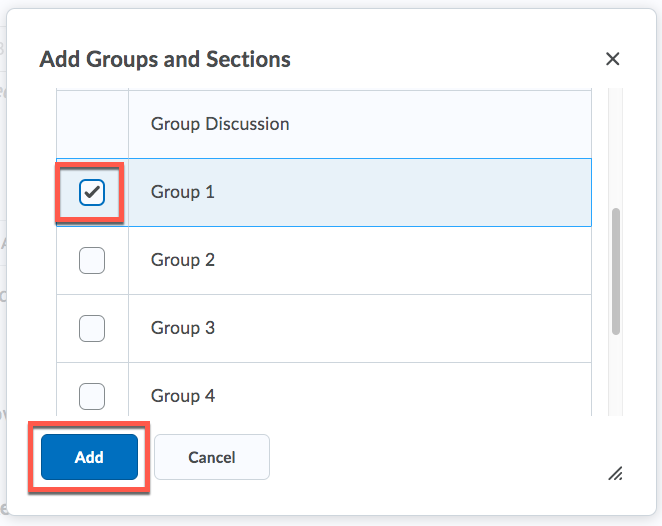
- Click Add Groups and Sections.
- Check the group(s) you'd like to add from the list, then click Add.
- Click Save and Close.
Article ID: 447
Created On: Tue, Jan 7, 2020 at 12:32 PM
Last Updated On: Wed, Jun 26, 2024 at 10:00 AM
Authored by: Melody Fan [melody.fan@cccs.edu]
Online URL: https://kb.ccconline.org/article.php?id=447