;)

;)


;)
;)
;)
;)
;)
;)
;)
;)
;)
;)
;)

;)
;)
;)
;)
;)
;)
;)
;)
;)
;)
;)
;)
;)
;)
Use the following instructions to setup the Norton digital content links being used in your course.
IMPORTANT: In order to students to access the Norton digital content instructors MUST first complete these steps successfully.
If you do not have a Norton instructor account using your cccs.edu email account, follow these instructions to request one.
NOTE: You do NOT need to do STEP 2. Only create a Norton account. All of the Norton content you need access to is available in the D2L course once you log in.
You will not be able to complete these setup instructions without a Norton instructor account.
- From Content>Click the Notes for Instructor module>Open the Vendor Support module
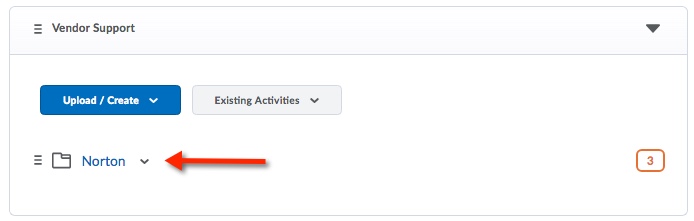
Open the Norton module>Click on the Norton full eText link to start the setup process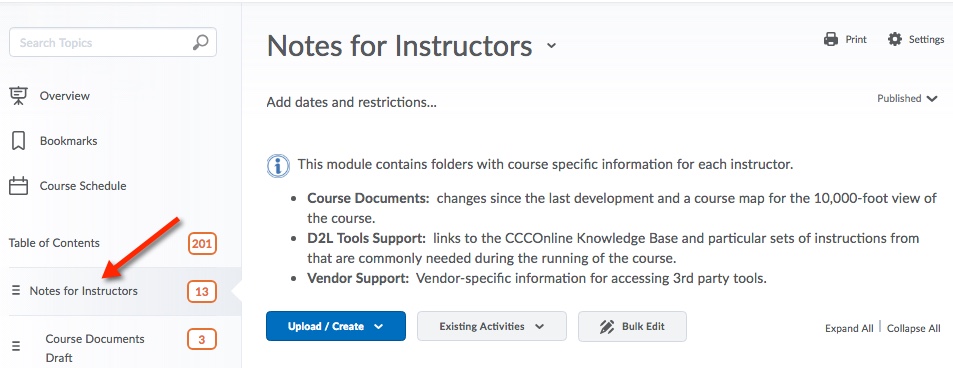
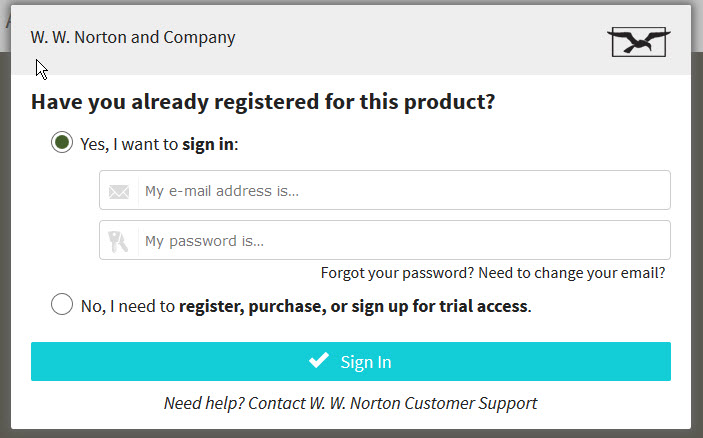
- A new window will open, from the W. W Norton and Company registration window enter you CCCS.edu email Norton instructor credentials by clicking the Yes, I want to sign in radio button. [Do not click No, I need to register, purchase or sign up for trial access radio button.]>Click Sign In
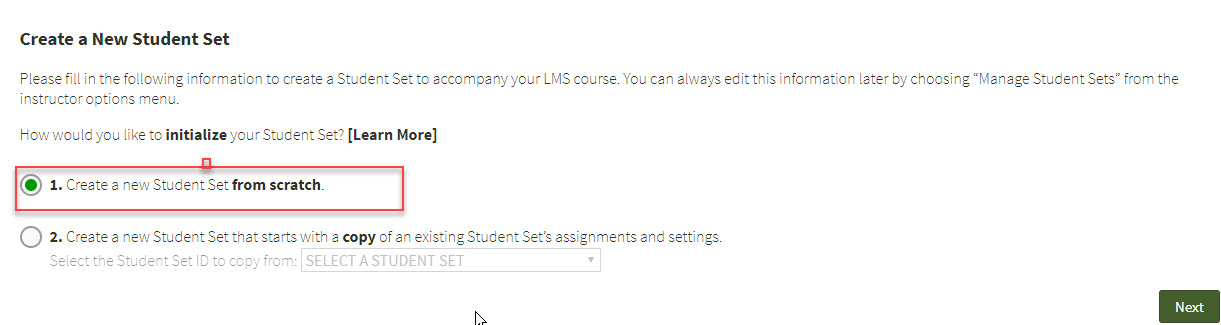
- From the Create a New Student Set window>Click the first radio button-1. Create a new Student Set from scratch>Click Next
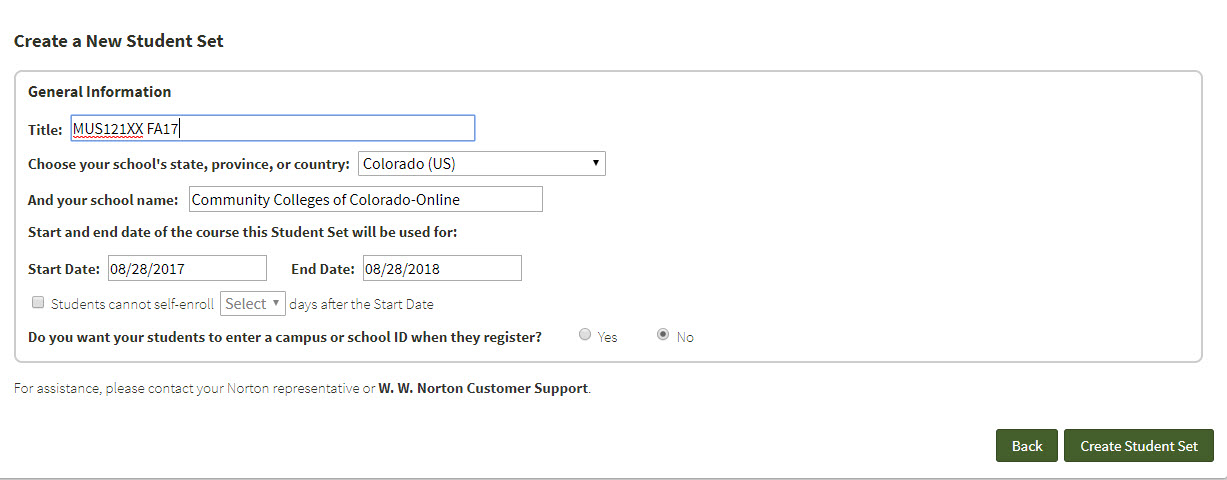
- In the Create a New Student set General information window complete the following:
- Title: [input the course title to match your D2L course name; for example: MUS1021C01 FA22]
- Choose your school's state, province, or Country: Colorado
- And your School Name: Community Colleges of Colorado-Online
- Start Date: [input the current date]; End date [select one year from current date]
- Leave the students cannot self enroll checkbox blank
- Do you want your students to enter a campus or school ID when they register-Confirm the No radio button is selected
- If a box pops up asking you to confirm if the course is participating in Inclusive Access, please choose YES and Save.
- Click the Create Student Set button in the lower right corner of the window to proceed
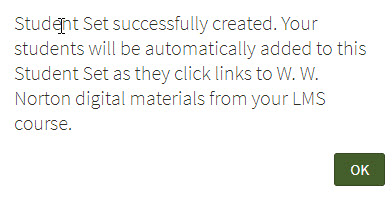
- Click OK from the Confirmation window that you student set has been created.
- Last, navigate to your D2L course>Content tool to open the ebook links and explore the Norton digital content links
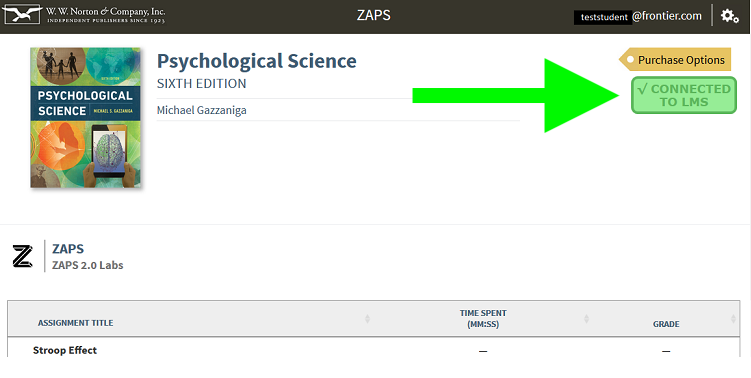
NOTE: After your student set is created, you will see a glowing green badge that reads Connected to LMS in the upper right hand corner of the ebook homepage. This indicates that your course is successfully paired with Norton.