;)

;)
;)
;)
;)
;)
;)

;)
;)

;)
;)
;)
;)
;)
;)
;)
;)
;)
;)

;)
;)
;)
You must set up your profile in order to be able to schedule your exams or quizzes.
- Create your Examity® profile by selecting My Profile from the dashboard.
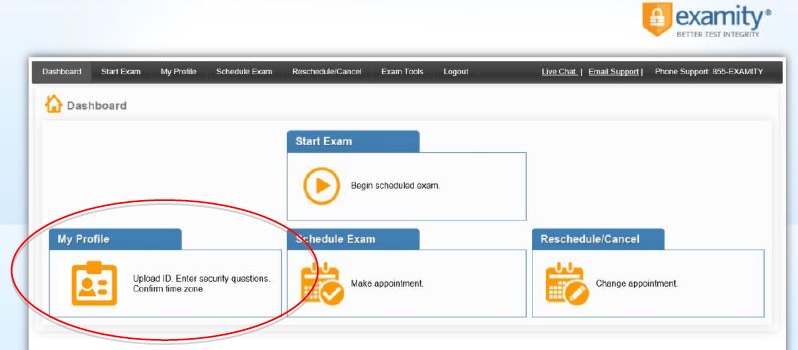
- Click the Edit button under Account Information to update your profile
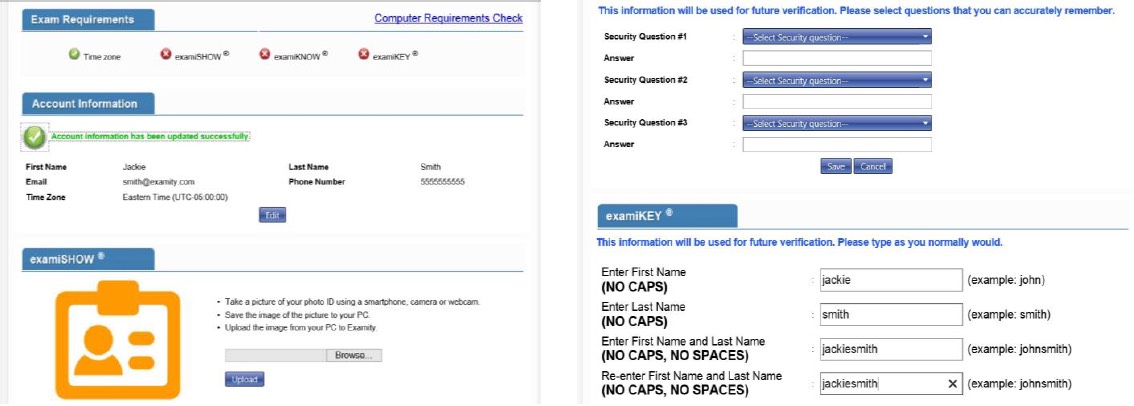
- Upload a photo of your picture identification card [ID]. The following are acceptable forms of identification:
-Current Government issued photo ID [cannot be expired]
-Current school photo ID
-Current passport with photo
Please note, for verification purposes, you will need to present this ID every time you take an authenticate/proctored Exam. - Select and answer three security questions.
- Enter your keystroke biometric signature [referred to in Examity as examSHOW & examKEY].
Once your profile is complete, run a systems requirements check. To complete a systems requirements check, click the link in the upper right hand corner of the My Profile page. You should run the check on the same computer you will be using to take the exam.

